


Have you ever tried to build a React project that required data to be stored in a database and then retrieved and manipulated, but you have no idea how a database or backend works? This is possible by utilizing the built-in database of the web browser, known as Local Storage.
Local Storage is a native Web API of modern web browsers that allows websites/apps to store data (simple and limited) in the browser and make that data available in subsequent browser sessions.
You may be wondering why local storage should be used in your react project. Here are some examples of its applications:
It can also be used to add the appearance of a backend/database to frontend React projects.
It can be used in conjunction with React Hooks to take advantage of Local Storage, allowing users to save data as key-value pairs in the browser for later use.
In this article, I will create a sample React application to demonstrate how to use localStorage with the useState react hook. Local Storage is one of the simplest ways to store data on the client side, and the best thing about it is that data is not removed from the browser unless the browser's cache is cleared.
Getting Started
Step 1: Create a new react app and add a project name
npx create-react-app local-storage-project
Step 2: Create a new component
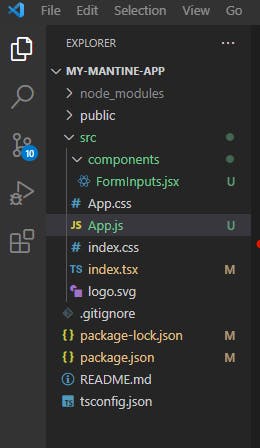
Step 3: Navigate inside the Forminputs component and create a form with two inputs and a submit button
import React from "react";

export const FormInputs = () => {
  return (
    <form action="">
      <input type="text" placeholder="First Name"  name="firstName"/>
      <input type="text" placeholder="Last Name"  name="lastName"/>
      <input type="submit" value="Submit" />
    </form>
  );
};
Step 4: Create a state for the inputs using the React useState Hook and set its initial state to an empty string.
import React, {useState} from "react";

export const FormInputs = () => {
const [formData, setFormData] = useState({
         firstName: '',
         lastName: ''})
  return (
    <form action="">
      <input type="text" placeholder="First Name"  name="firstName"/>
      <input type="text" placeholder="Last Name"  name="lastName"/>
      <input type="submit" value="Submit" />
    </form>
  );
};
Step 5: Pass the formData state as a prop to the input
import React, {useState} from "react";

export const FormInputs = () => {
const [formData, setFormData] = useState({
         firstName: '',
         lastName: ''})
  return (
    <form action="">
      <input
        type="text"
        placeholder="First Name"
        value={formData.firstName}
        name="firstName"/>
     <input
      type="text"
      placeholder="Last Name"
      value={formdata.lastName}
      name="lastName"/>
      <input type="submit" value="Submit" />
    </form>
  );
};
Step 6: Create a function to handle the onChange event and pass it as a prop to the input. The onChange event Listener is how React updates the input fields in real-time.
import React, {useState} from "react";

export const FormInputs = () => {
const [formData, setFormData] = useState({
         firstName: '',
         lastName: ''})

const handleChange = (e) => {
setFormData({
      ...formData,
      [e.target.name]: e.target.value,
    })
}
  return (
    <form action="">
      <input
        type="text"
        name="firstName"
        placeholder="First Name"
        value={formData.firstName}
    />
      <input
       type="text"
       name="lastName"
       placeholder="Last Name"
       value={formdata.lastName} />
      <input type="submit" value="Submit"
    />
    </form>
  );
};
Step 7: The output should look like this:
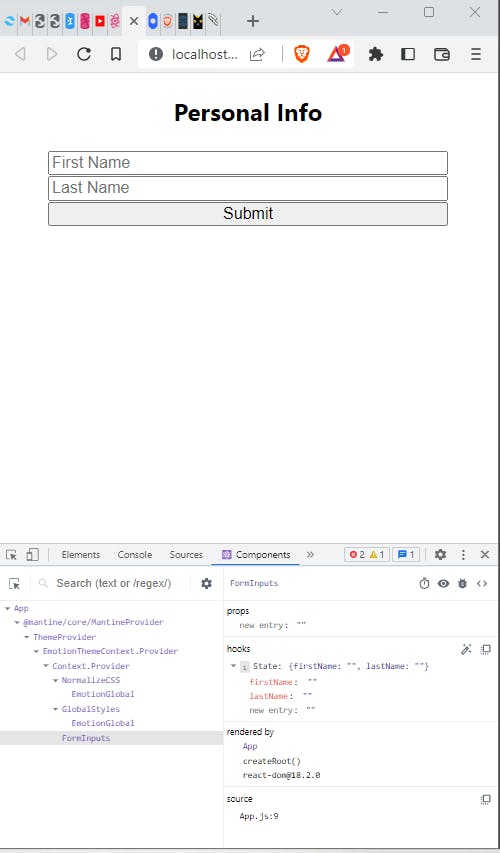
This is the initial state of the input element which is empty.
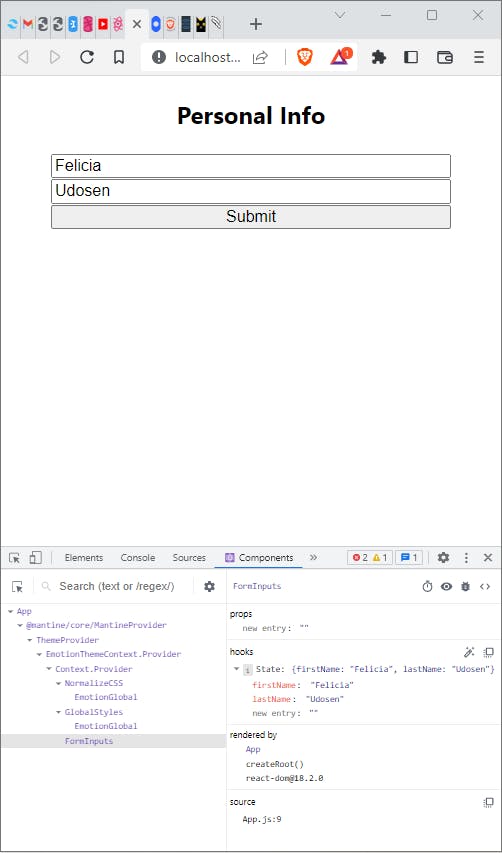
This is the output after updating the state of the form inputs.
Right now, our input data will not be saved. The input data will be cleared if the page is refreshed. To keep the input data available after each page refreshes and on subsequent visits to the page, we must save it in Local Storage.
Saving the input data to Local Storage
The web storage API provides a browser storage object with methods for saving, reading, and removing data from the storage API. The primary method for saving data to the storage object is setItem(). The method stores a key value in the storage object as a key name for later retrieval and use.
Let's save our input data with these steps:
Step 1: Create a handleSubmit function to save our input data to local storage and pass it as a prop to our form component:
import React, {useState} from "react";

export const FormInputs = () => {
const [formData, setFormData] = useState({
         firstName: '',
         lastName: ''})

const handleChange = (e) => {
setFormData({
      ...formData,
      [e.target.name]: e.target.value,
    })
}

const handleSubmit = (e) => {
e.preventdefault()
localStorage.setItem("data", JSON.stringify(formData));
}
  return (
    <form action="" onSubmit={handleSubmit}>
      <input
        type="text"
        name="firstName"
        placeholder="First Name"
        value={formData.firstName}
    />
      <input
       type="text"
       name="lastName"
       placeholder="Last Name"
       value={formdata.lastName} />
      <input type="submit" value="Submit"
    />
    </form>
  );
};
When you submit this form and open the browser's local storage, the following is the output:
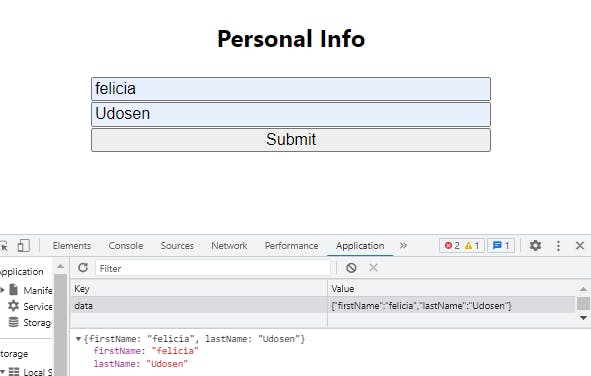
To save the input data from our form in the browser storage, call the setItem() method and pass it a key name and a data item (key value).
localStorage.setItem("key Name", "value");
In our case, the key would be data and the value is the formData state variable. Because the input data is initially an object, you should use JSON.stringify() to convert the value of the inputs to a string.
localStorage.setItem("data", JSON.stringify(formData));
Retrieving the input data from Local storage
The primary method for fetching or retrieving data from the storage object is getItem(). The method, unlike its counterpart, returns the key value of a key name or null if the key does not exist in the given storage object.
getItem(keyName)
in our case,
1. Invoke the localStorage.getItem() method, passing as a parameter the key name of the data to be extracted.
Parse the JSON string returned by getItem().
Log the data in your console.
JSON.parse() is a method that converts JSON strings to JavaScript objects
const savedInputs = localStorage.getItem("data");
const parsedInput = JSON.parse(savedInputs);
console.log(parsedInput)
you can perform other operations with Local storage such as:
- Remove Item
localStorage.removeItem('Key Name')
- Delete all items: the
clear()method to delete all items inlocalStorage.
localStorage.clear()
- Get the name of the key
localStorage.key(index)
Conclusion
In this article, we defined Local Storage and demonstrated how to use it to persist data in the browser using React hooks.
We were also able to utilize and explain the power of using Local Storage.